
Soraka
View on WikiGood (7/10)
High Investment Required
Epic Relics
Paid Relics
Soraka is a highly effective scaling champion at maximum investment, but her reliance on raw stats over unique mechanics leaves her gameplay feeling somewhat linear. She requires significant constellation upgrades and premium relics to overcome early-game fragility.
Self-Damage Scaling
 Forces self-damage on allied units upon being played, immediately enabling Soraka's healing synergies.
 Converts the high health of her followers into formidable attack power while protecting them from self-damage.
 Accelerates the game plan by providing an additional starting mana gem, allowing for earlier board presence and faster scaling.
Strategy
This build creates a self-sustaining engine that damages allies on play, allowing Soraka to immediately heal them and trigger her stat-scaling star powers.
Strength of Stone ensures her low-attack, high-health units become massive threats, while Starforged Gauntlets provides the crucial early mana needed to establish a board presence before aggressive opponents can overwhelm her.
Rapid Rally Engine
 Provides consistent rallies and spellshield whenever Soraka is healed while the attack token is absent.
 Grants Regeneration, Overwhelm, and Challenger once the Empowered threshold is reached, ensuring massive stat growth.
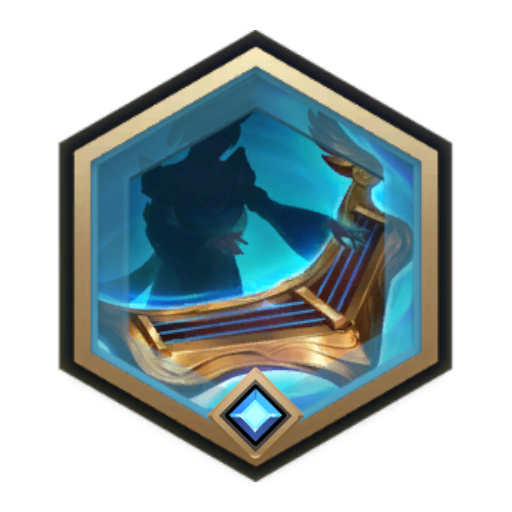 Doubles Soraka's stats, instantly activating the Empowered threshold of Chosen by the Stars.
Strategy
This setup focuses on rapid stat escalation and multiple attack phases. Hymn of Valor provides a massive burst of stats, instantly bringing Soraka online and activating the Empowered threshold of Chosen by the Stars.
The healing from Regeneration and other sources triggers the Celestial Staff, generating extra attack tokens to dominate the combat phase and close out the game quickly.
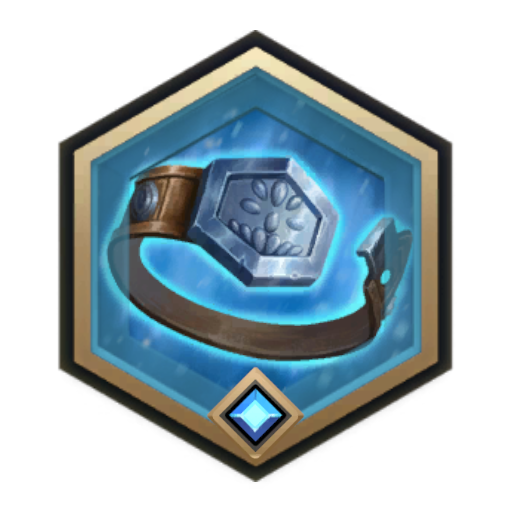
Expert Monthly Brawler
 Provides steady stat growth whenever Soraka survives damage during combat.
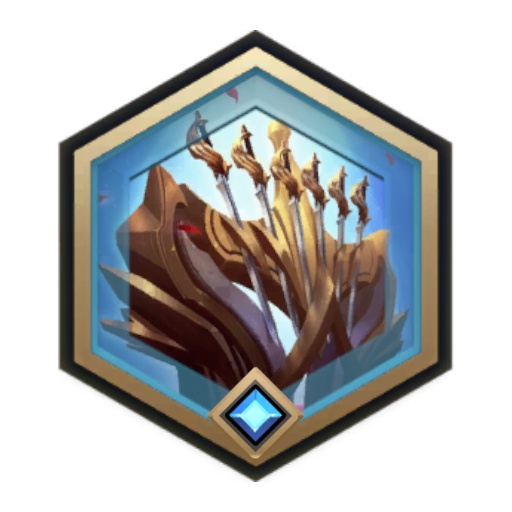 Provides Challenger to the entire board, forcing favorable trades to ensure units take non-lethal damage for healing triggers.
 Grants Overwhelm to all allies, ensuring breakthrough damage and a reliable win condition once units are sufficiently buffed.
Strategy
Utilizing only rare relics, this build relies on surviving combat to scale and control the board. The Berserker's Buckle turns enemy attacks into a scaling advantage, synergizing perfectly with Soraka's healing.
Laurent Bladerack provides Challenger to force favorable trades, ensuring units take non-lethal damage for healing triggers, while Troll King's Crown grants the Overwhelm necessary to push breakthrough damage once the board is sufficiently buffed.
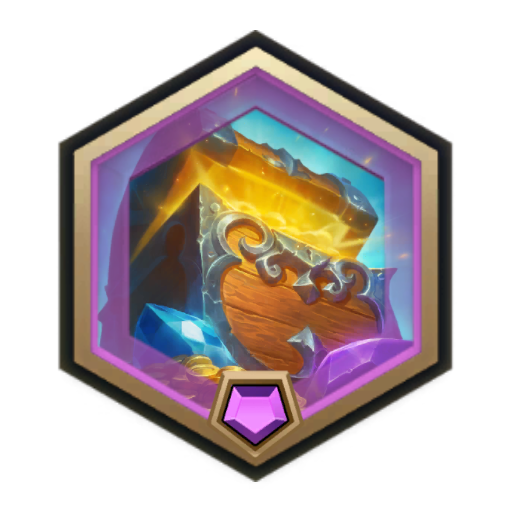
Zoe Specialized Control
Zoe Specialized
- Offers Spellshield, Challenger, and continuous rally pressure to keep the board in check.
- Provides the necessary self-damage to trigger healing synergies and grants Overwhelm/Impact.
 Draws and buffs key cards, ensuring immediate board presence.
Strategy
Designed specifically for the 10-star Zoe adventure, this build establishes a dominant early board to counter aggressive scaling. Found Fortune draws and buffs key cards, ensuring immediate presence.
Cruel Experiments provides the necessary self-damage to trigger healing synergies, while Celestial Staff offers Spellshield, Challenger, and continuous rally pressure to keep Zoe's board in check.
Other Relic Options
 Excellent for duplicating her healing spells in longer encounters.
 A strong alternative for granting Overwhelm and a slight stat boost to her board.
Disciple of Shadows is actively detrimental to Soraka. The initial damage will often destroy her low-health early units before they can be healed, completely shutting down her scaling engine. Additionally, Sentinel's Plate can be a trap, as its Barrier effect prevents Soraka from taking the damage necessary to trigger her healing synergies.
Constellation
Players disagree about Soraka's overall design. Some consider her straightforward, stat-scaling playstyle to be highly effective and resilient in difficult encounters. While others find it uninspired, noting the conspicuous absence of the Star Spring landmark as a primary win condition.

Flourish
When you heal a damaged ally, grant it +1|+1.
The Stars Answer
+1 Starting Mana. Round Start: Create an Astral Diffusion in hand or reduce its cost by 2 if you already have one.Review
Grants an extra mana gem, which is a significant early-game boost that accelerates her scaling engine and allows her to establish a board presence faster.
Flourish II
When you heal a damaged ally, grant it +1|+1 for each point of healing (up to a max of +3|+3).Review
Grants 'Flourish' (+3/+3 on heal), providing solid stat growth. However, it is capped per heal effect and can feel slow before higher investments.
Duelist
When you summon an ally, give it Challenger this round.Review
Grants Challenger for one round. This can be awkward on defensive turns but becomes highly valuable for picking favorable trades once she can be played earlier.
Manaflow
Game Start: Get a mana gem.Review
Provides +1 starting mana, drastically improving her power curve and allowing her to establish board presence and control much faster.
Flourish III
When you heal a damaged ally, grant it +1|+1 for each point of healing (up to a max of +3|+3). After every 6 points of healing, create a 0 cost Fleeting Falling Comet in hand.Review
Uncaps her stat gain from healing and generates 0-cost Burst 'Falling Comet' spells. This transforms her into a powerhouse capable of massive stat scaling and reliable removal, essential for high-difficulty content.
Gameplay Tips
- Activating Healing Synergies
To maximize Soraka's scaling, units must take non-lethal damage. Utilize Challenger or strategic blocking to ensure allies survive combat, allowing healing spells and abilities to trigger her star powers.
- Leveraging Astral Diffusion
The burst-speed stun provided by her kit is a premium control tool. Use it to neutralize large threats before they strike, or to bypass formidable blockers during an offensive push.
- Understanding Rally Mechanics
When using Celestial Staff, remember that Regeneration effects resolve at the end of the round after the attack token is lost, meaning they will not grant a usable rally. Rely on direct healing spells or abilities during the action phase to generate extra attacks.
- Navigating Early Vulnerability
Soraka's early-game units possess low base health, making them susceptible to removal and aggressive wide boards. Prioritize establishing a stable board state and avoid unnecessary sacrifices until her healing engine is fully online.
- Exploiting AI Behavior
When Soraka or her allies gain Lifesteal, the AI often ceases attacking entirely. This can be exploited strategically to stall the game and safely scale your board without facing offensive pressure.